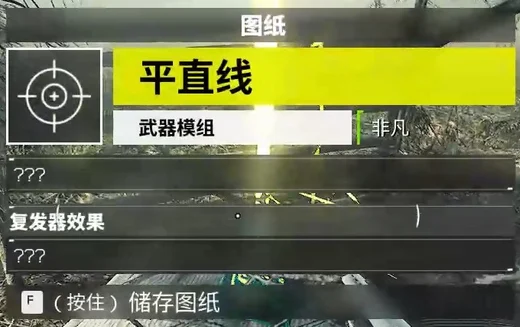
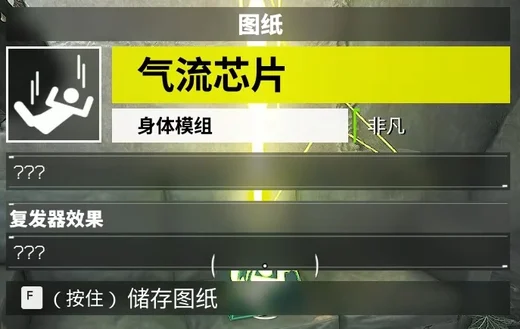
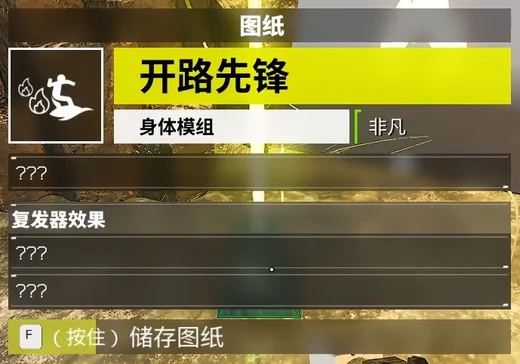
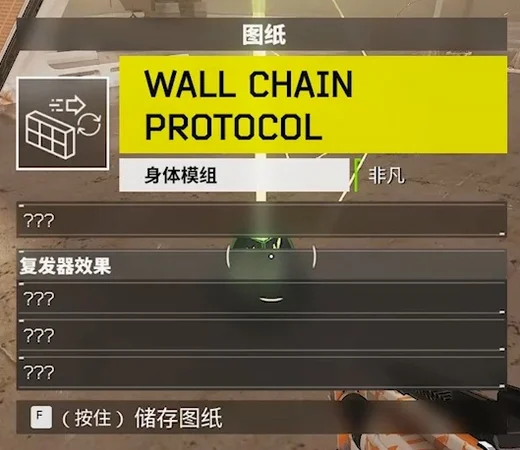
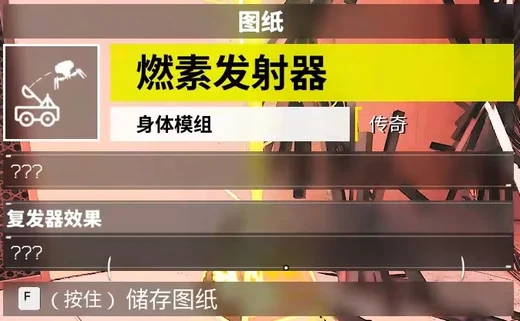
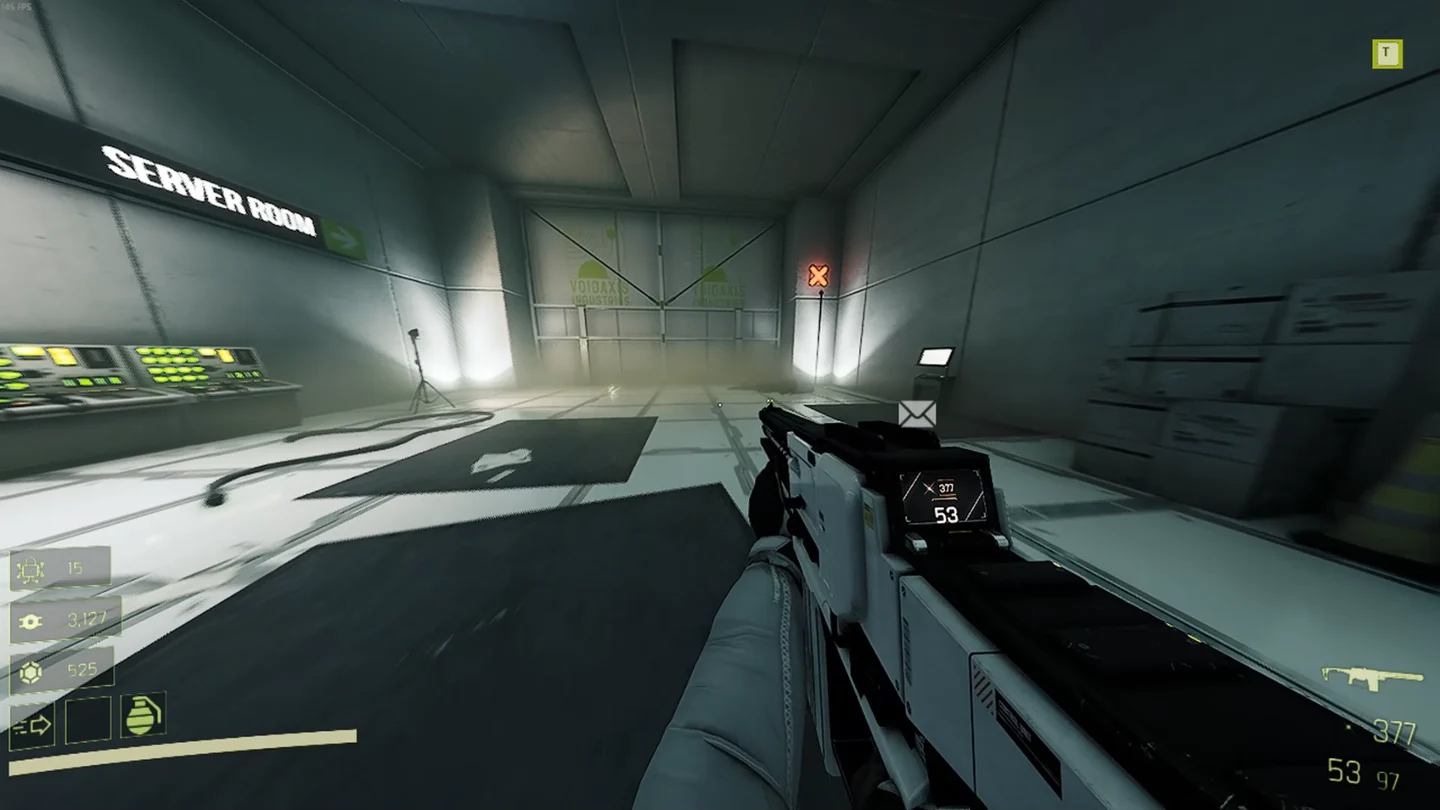
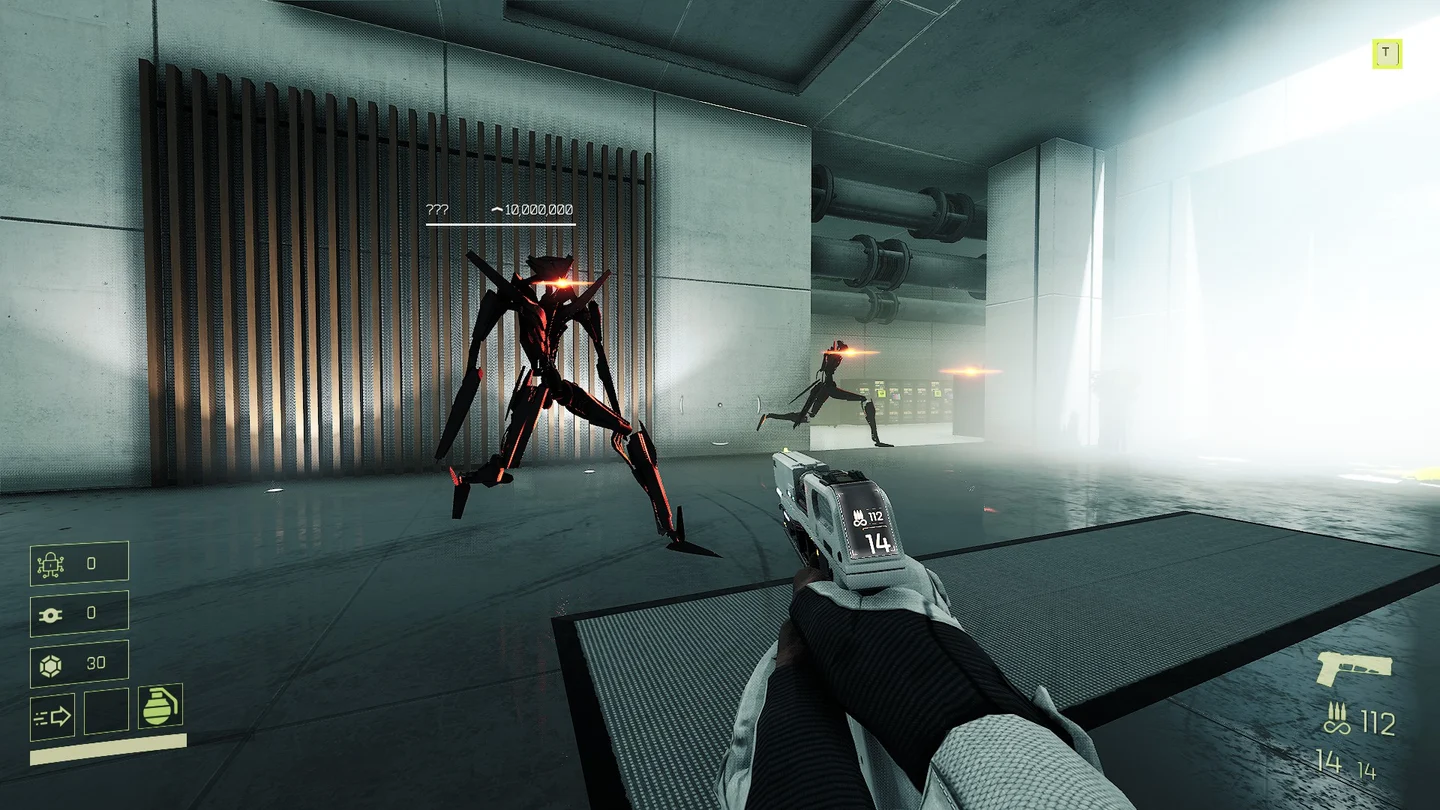
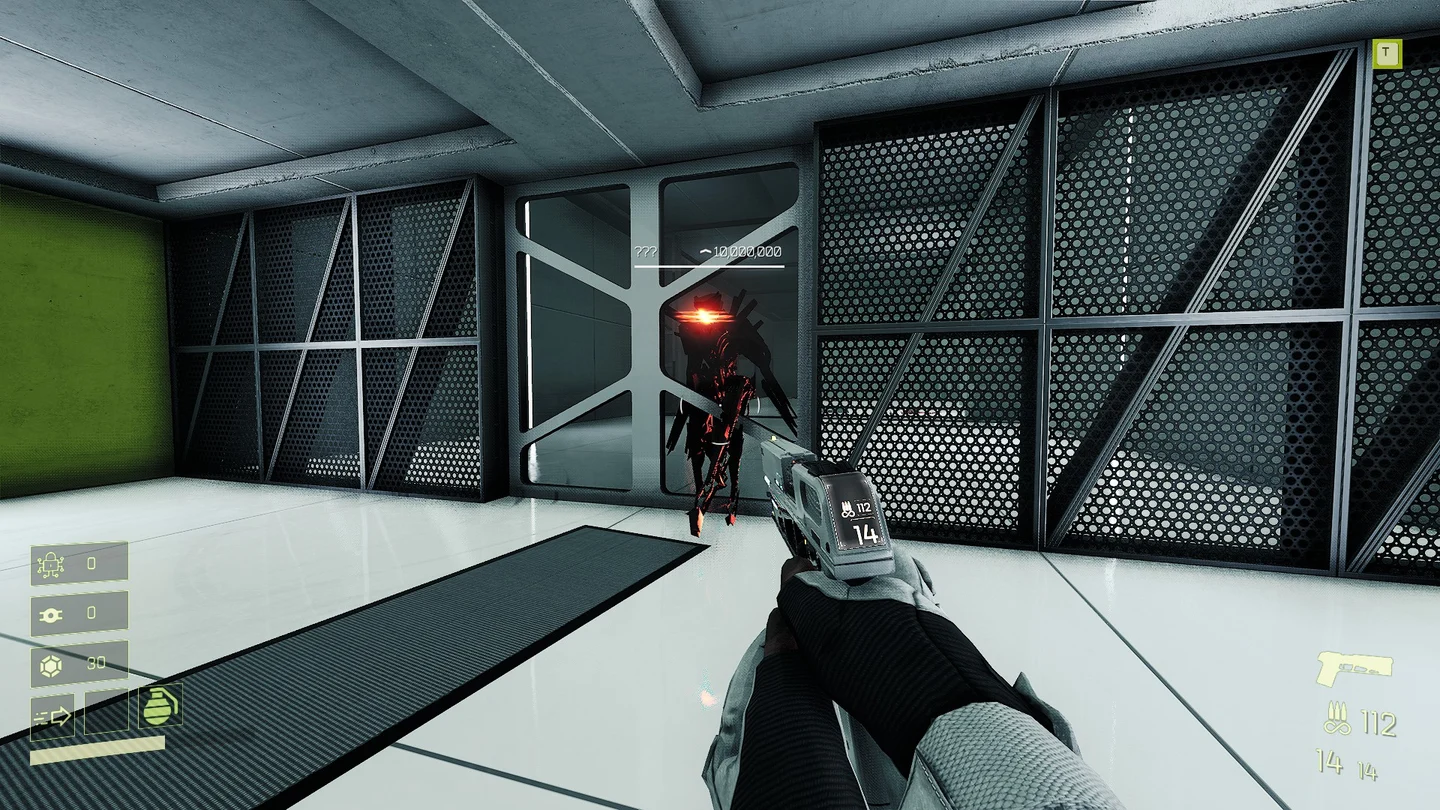
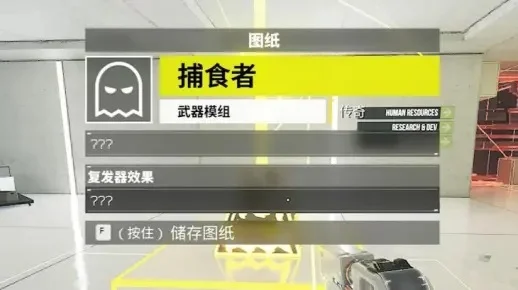
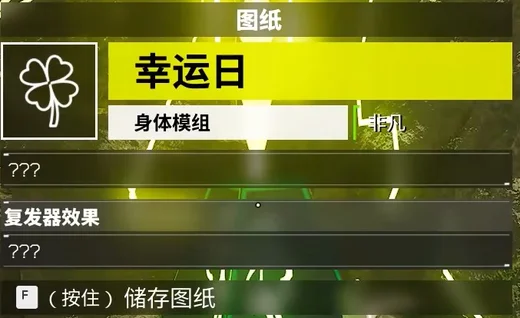
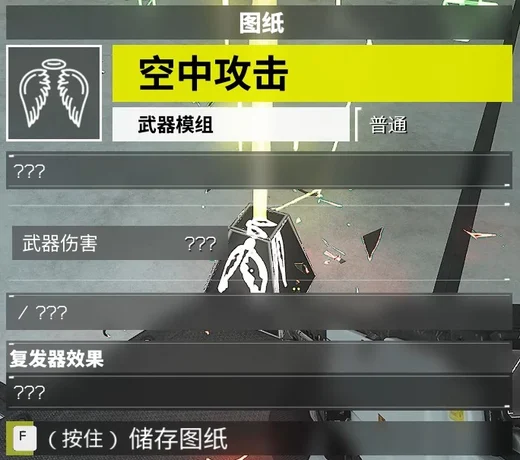
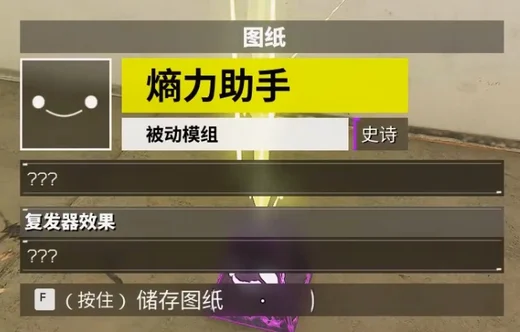
17 community-listed schematics, including Wall Chain Protocol and Entropy Helper. Tick names you have collected to keep a missing-item list in this browser.
17/17 community entries · Updated 2026-11-10 · PC 1.0 · community routes
0 of 17 foundSaved only in this browser
“Zone 2” is an observed location, not a spawn guarantee.
Fixed landmarks
5 schematics
Zone 1 · Start elevator
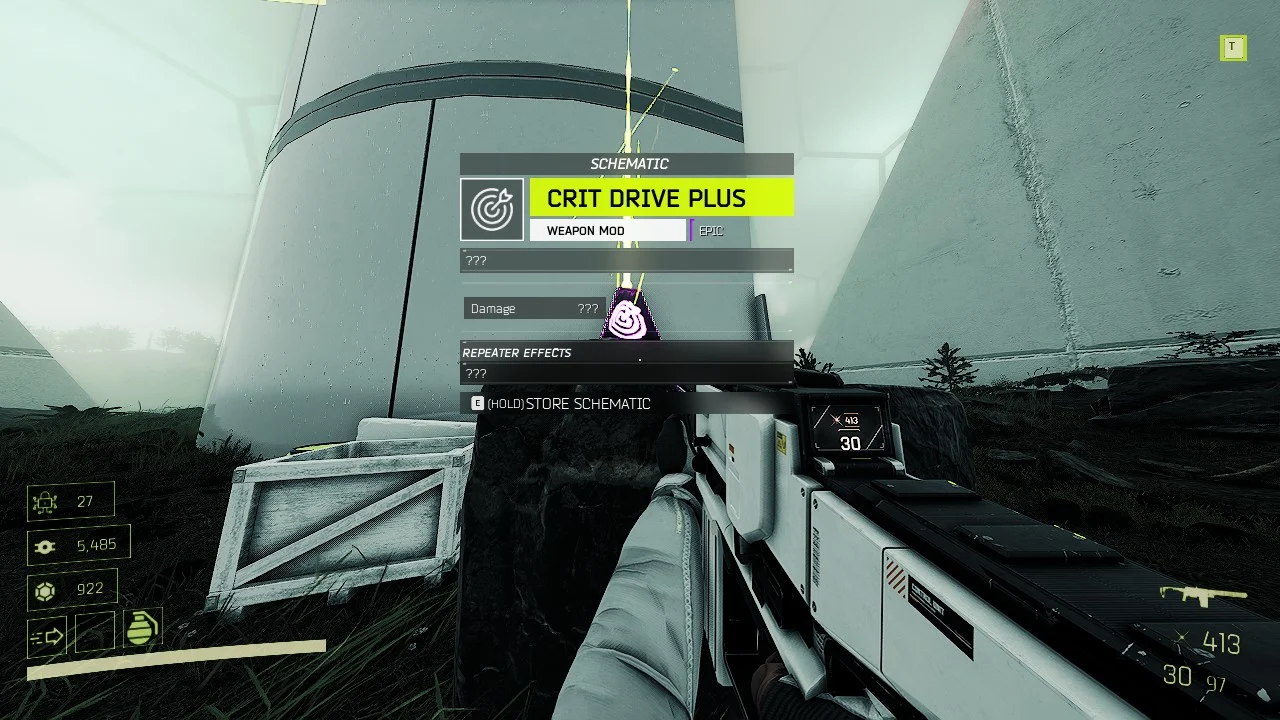
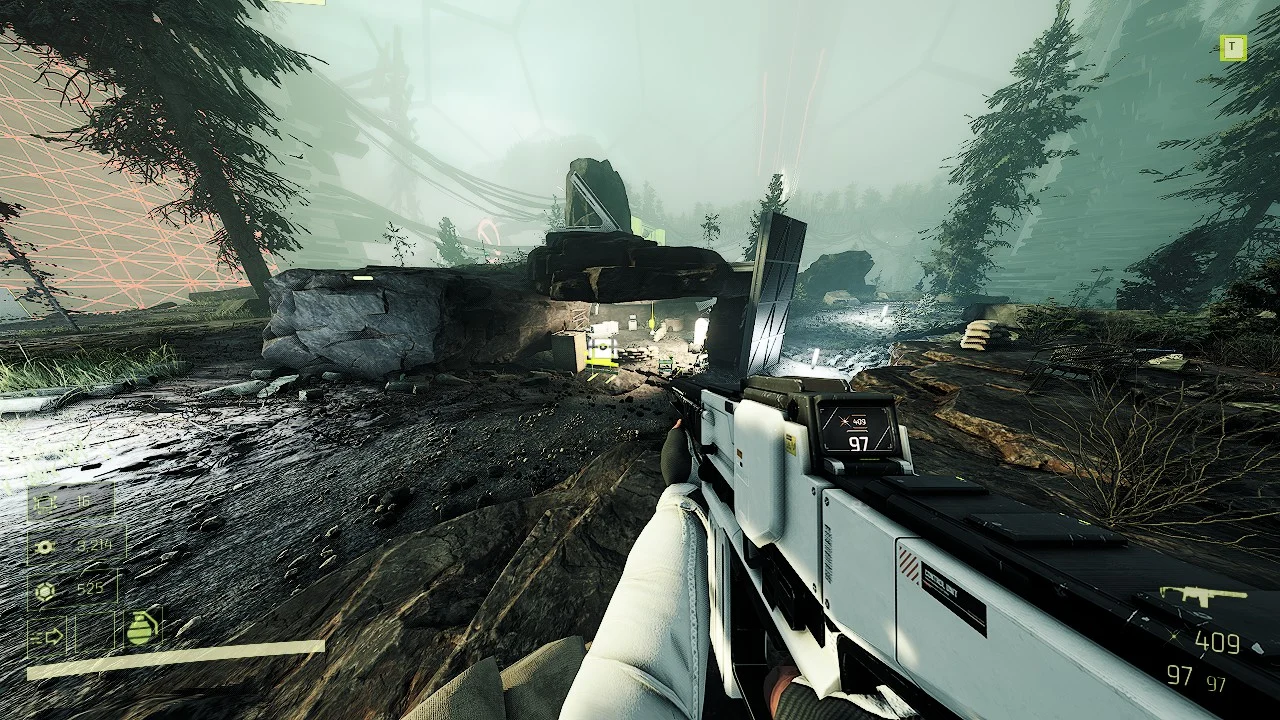
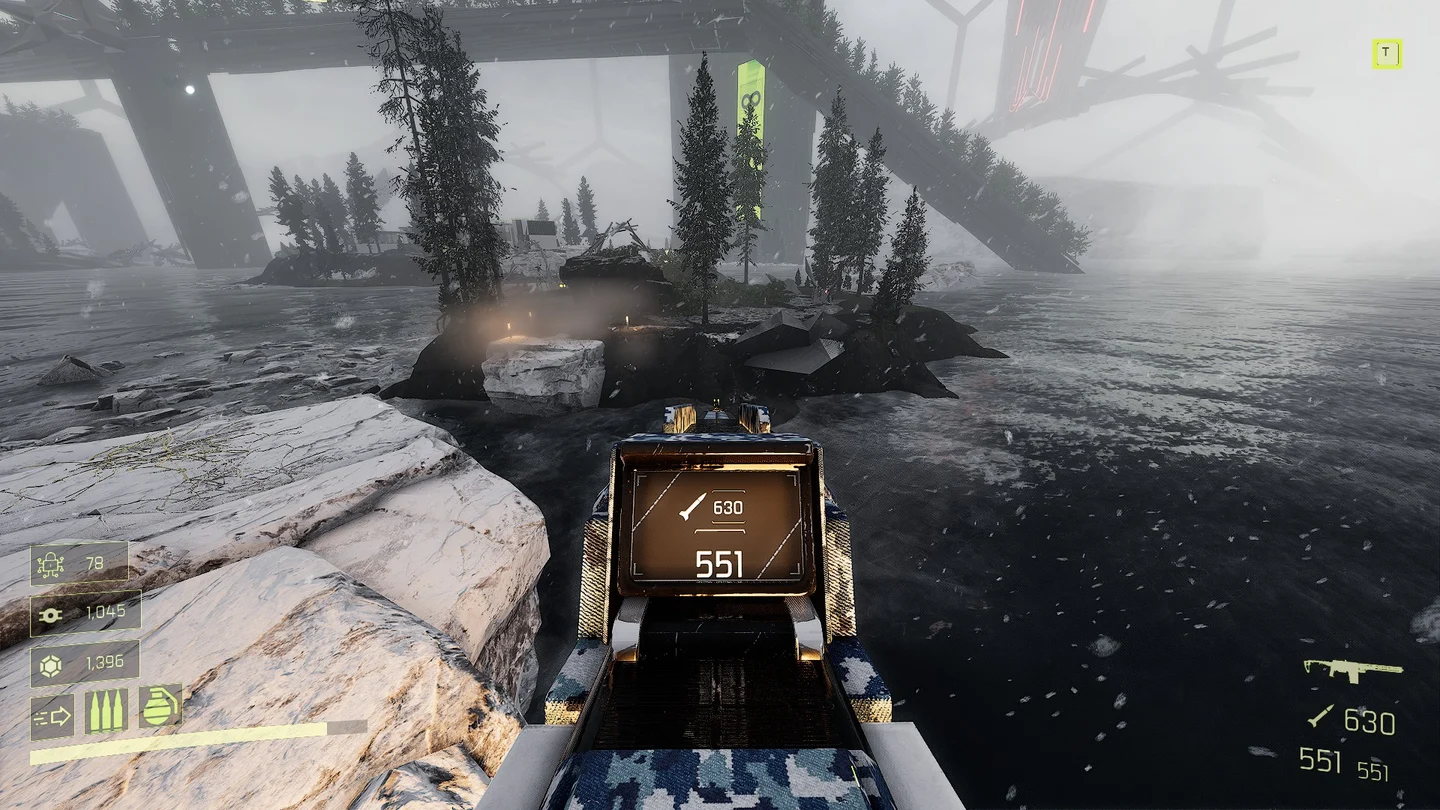
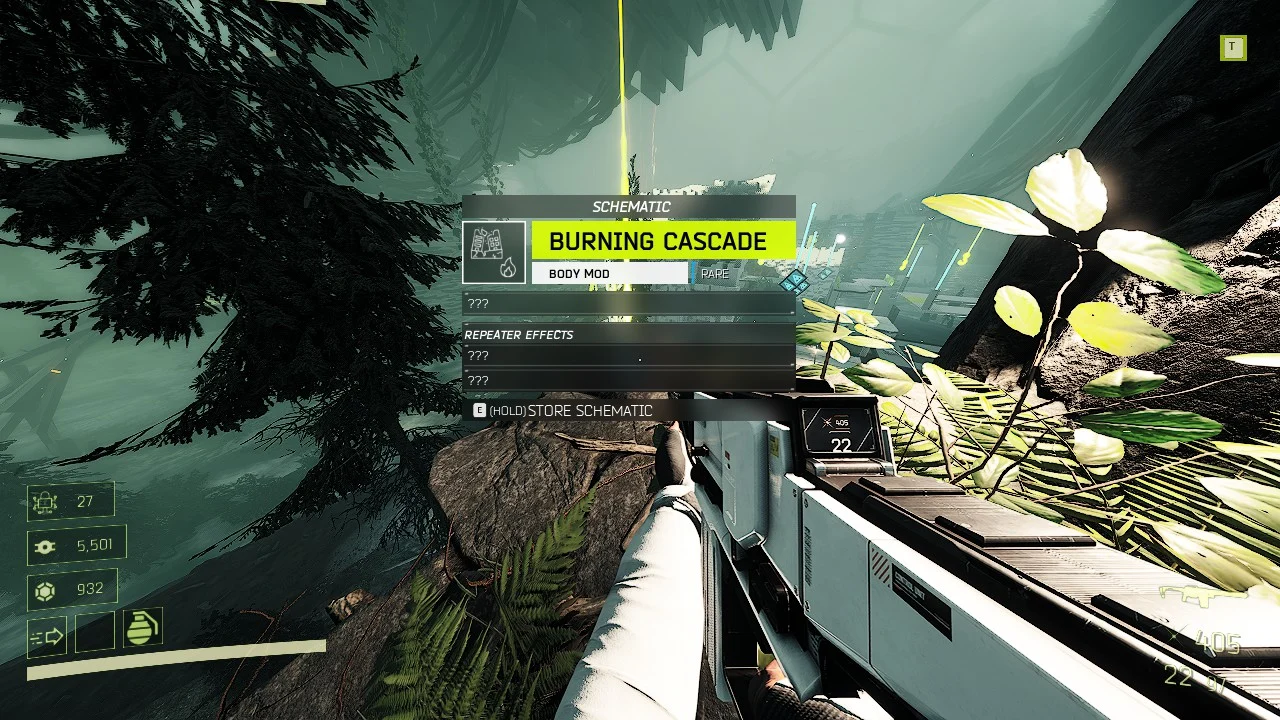
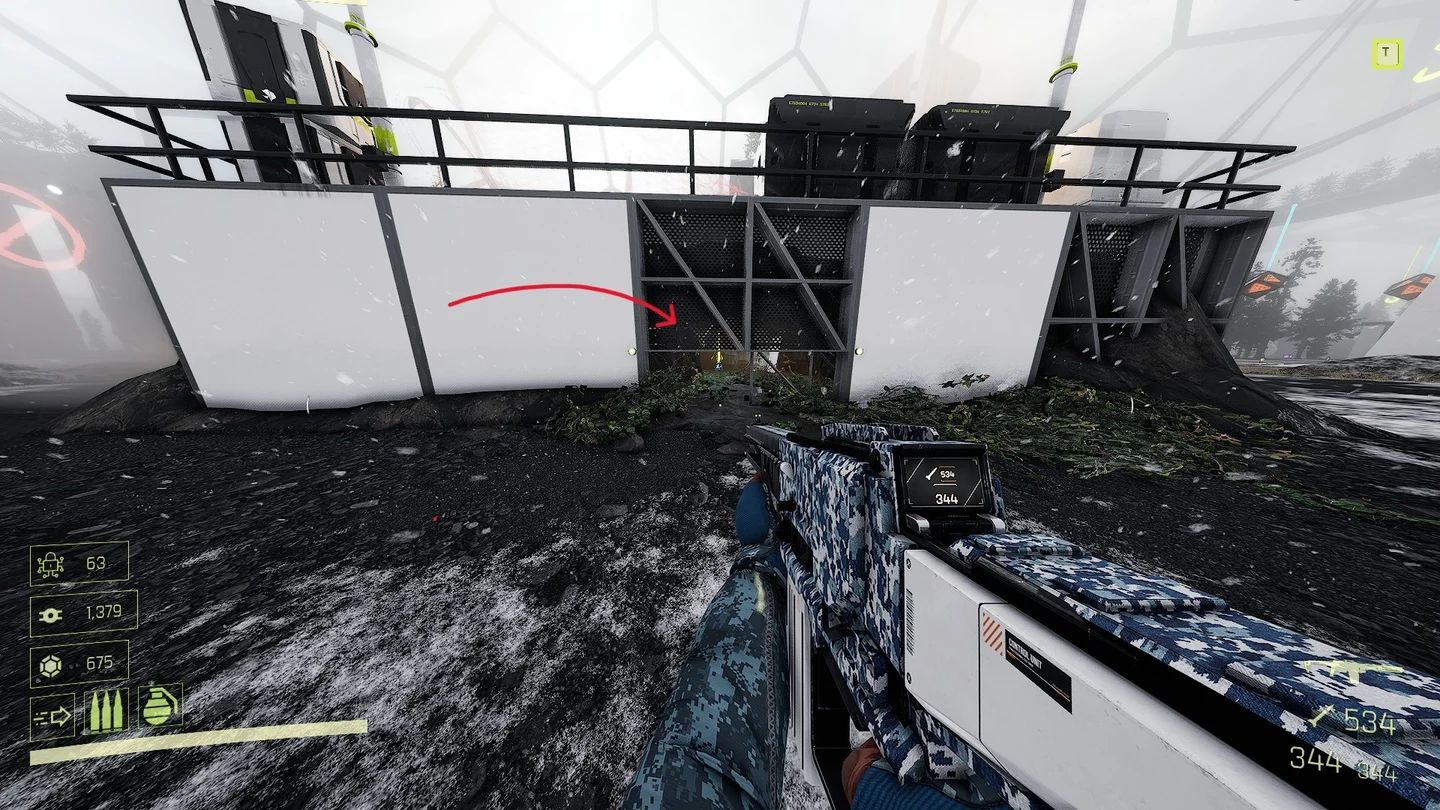
Take the Zone 1 elevator down, turn around and circle its outer wall. The schematic rests on a rock.
Route & module details
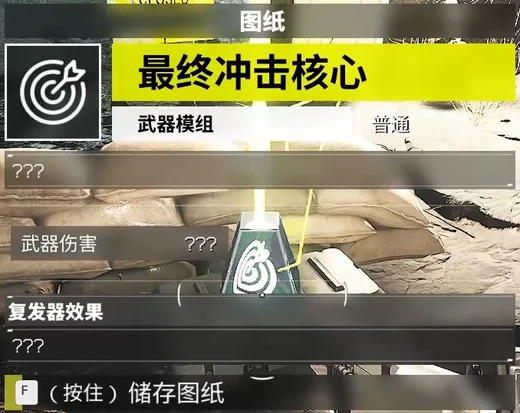
Module: Critical-damage upgrade.
Circle the outside of the elevator building before entering the first fight. Follow the schematic sound to the pickup on the rock.
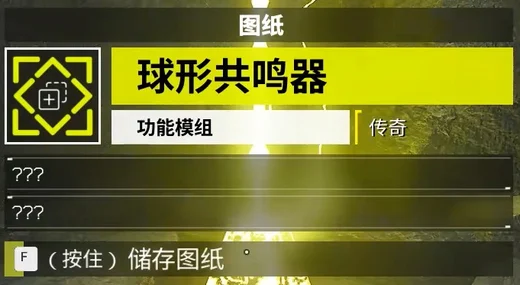
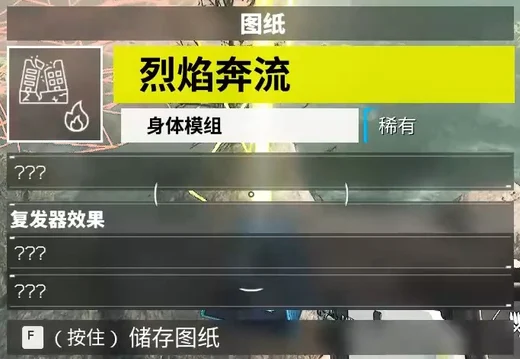
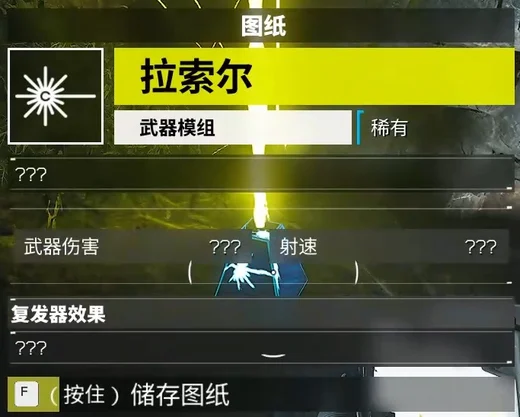
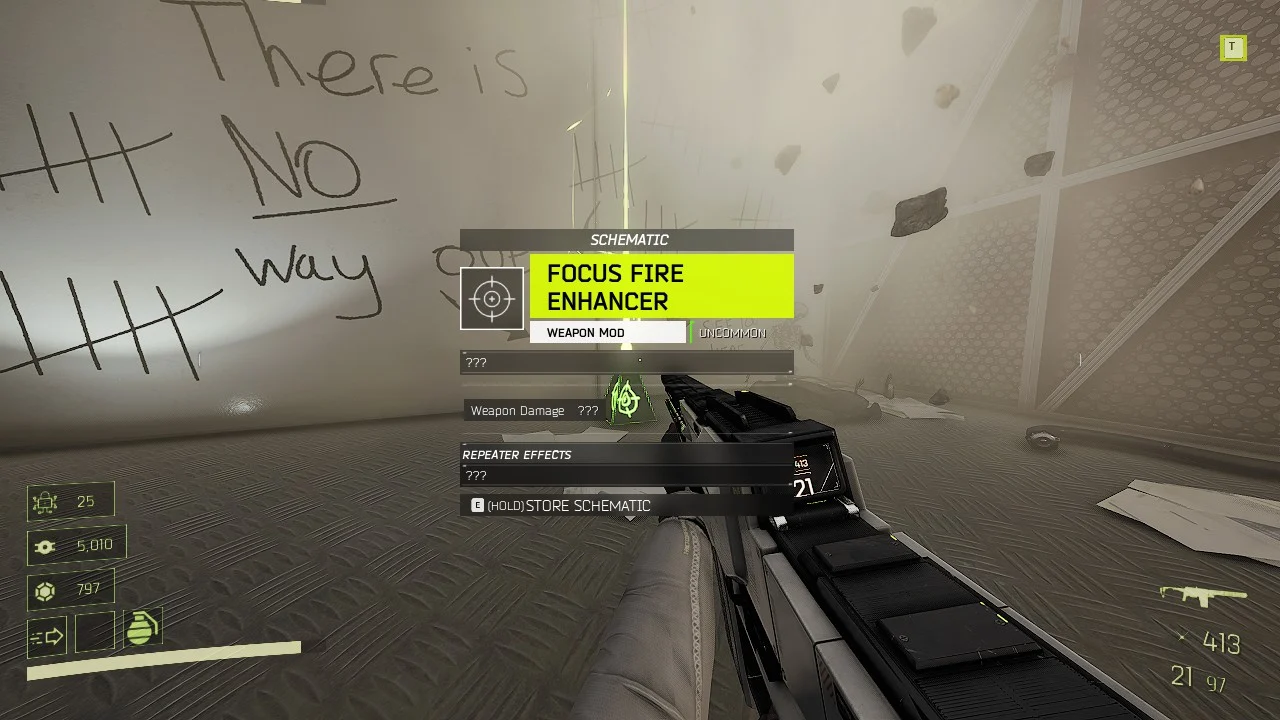
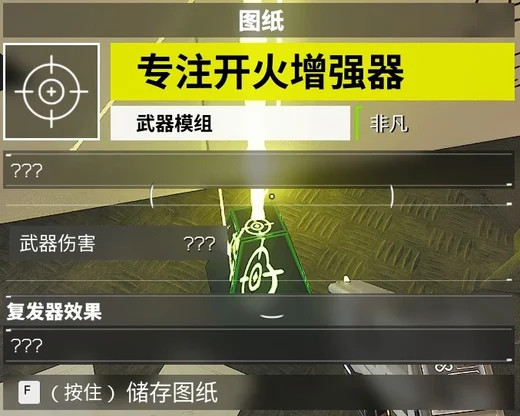
The English pickup label confirms Crit Drive Plus beside the elevator building. Open image
Identify the module in game
Community PC screenshot; the guide uses the English name above. This checklist does not prescribe numerical stacking values.
Zone 1 · Left-hand island route
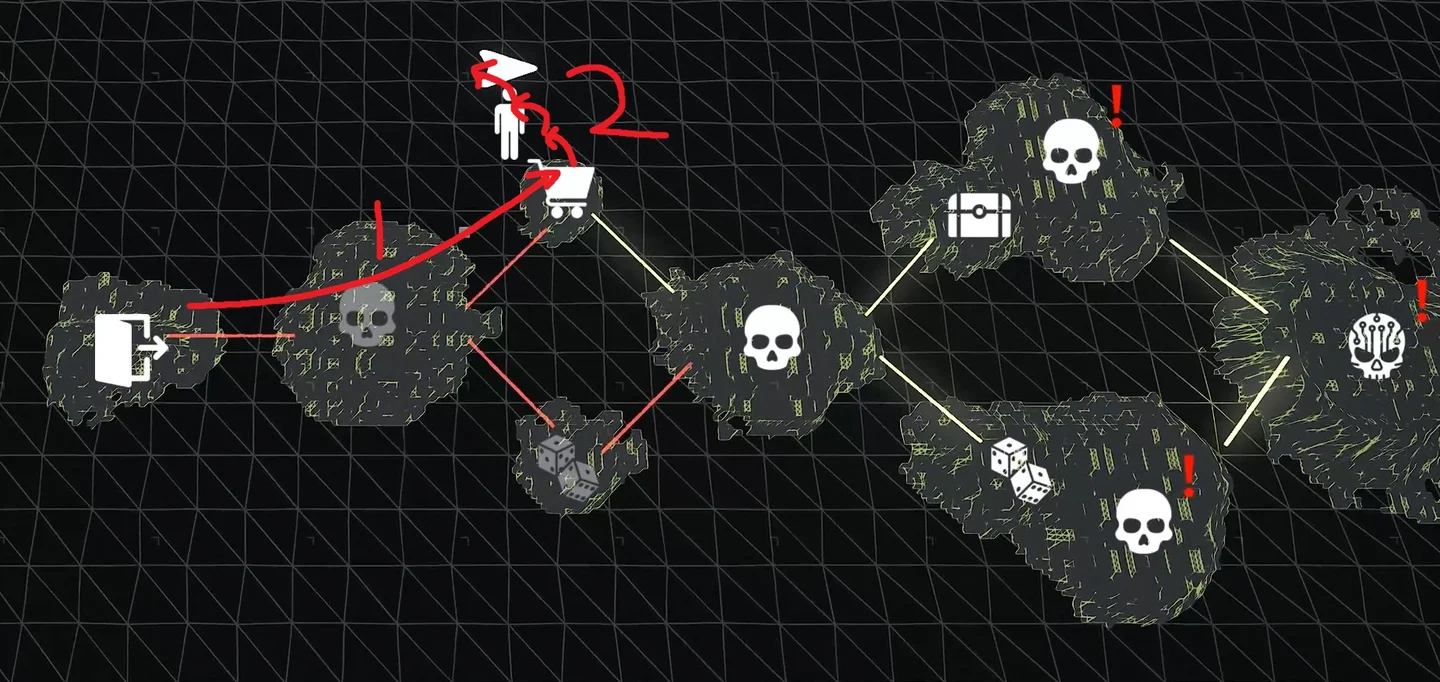
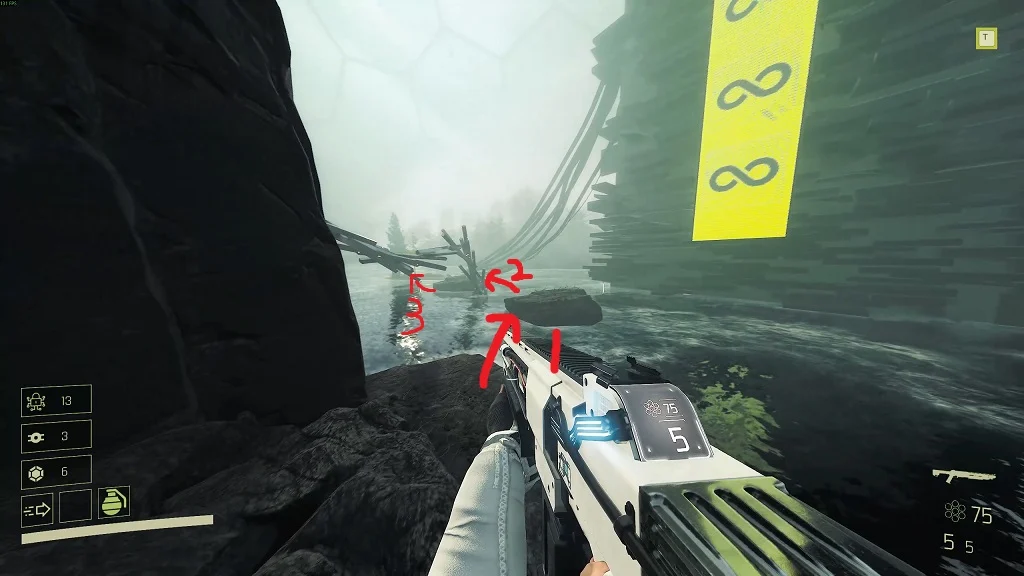
After the first Zone 1 fight, take the left route and look left for a side island.
Route & module details
Module: Changes vertical and horizontal recoil.
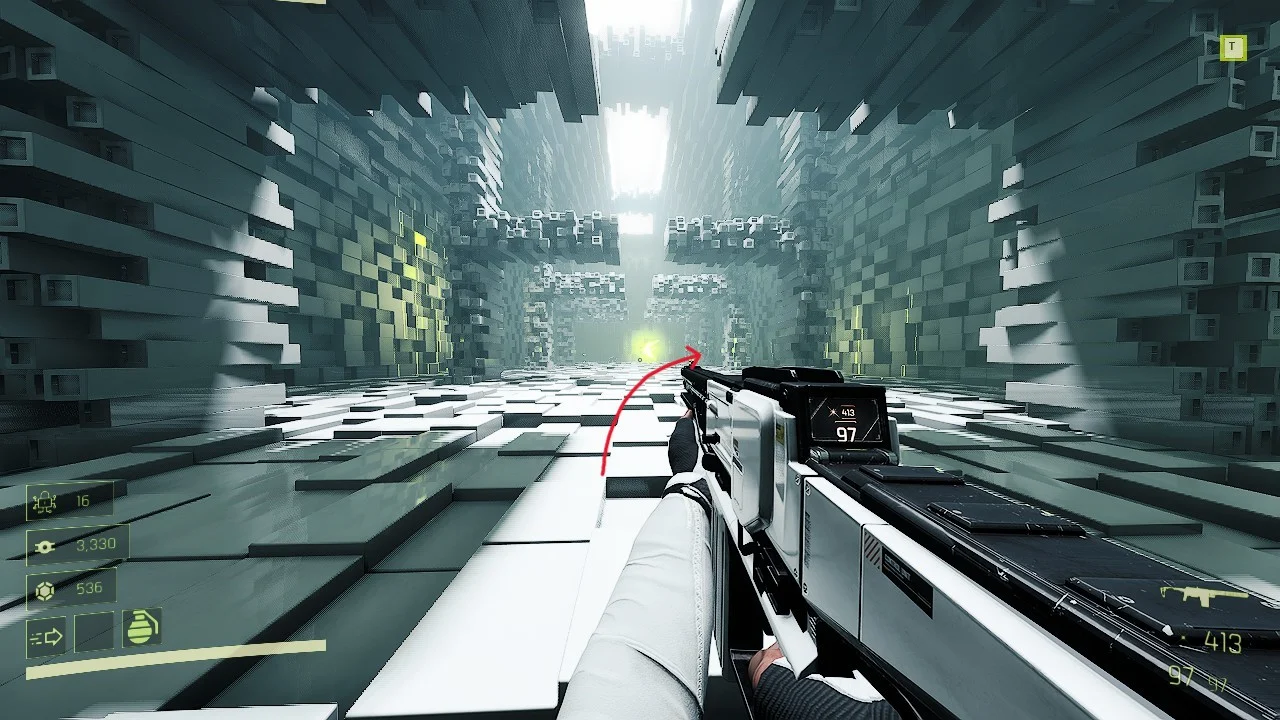
Clear the first combat room and take the left branch. Look left-front from that island, then jump across to the side island and search its edge. Older footage shows several stepping islands; the later community guide records a simplified single-island approach.
Use the left route after the first fight; this is a landmark example, not a fixed map seed. Open imageThe later community guide shows this simplified approach. Open image
Identify the module in game
Community PC screenshot; the guide uses the English name above. This checklist does not prescribe numerical stacking values.
Zone 1 · Metal-beam side routeRoute conflict
A Zone 1 schematic associated with a metal-beam route to a hangar. Its exact current approach is unresolved.
Read the location conflict
Module: Improves control while airborne.
The older English route crosses metal beams to a hangar in Zone 1. The Chinese guide describes the left branch before the Zone 1 entity and a metal-tendril path toward the center. It also claims a simplified location but dates that change December 18, 2026—later than this page's update. We cannot treat that date or the old approach as a confirmed current route. Keep the name in your missing-item list; do not plan a guaranteed pickup from these directions.
Identify the module in game
Community PC screenshot; the guide uses the English name above. This checklist does not prescribe numerical stacking values.
Zone 3 · Three-torch caveRoute conflict
Zone 3's three-torch puzzle is documented, but reports disagree on where the cave appears.
Read the location conflict
Module: Leaves a fire trail when sliding.
Older guides place the cave behind the Zone 3 start elevator. A later English comment reports the pickup at a Zone 3 corruptor instead, and players report runs without the old cave. The newer Chinese guide says the location was simplified without resolving that disagreement. If you find the three-torch cave, ignite all three torches with a fire-inflicting attack; ordinary bullets do not light them. That documented puzzle produces the schematic. The exact current cave location is not confirmed here.
Identify the module in game
Community PC screenshot; the guide uses the English name above. This checklist does not prescribe numerical stacking values.
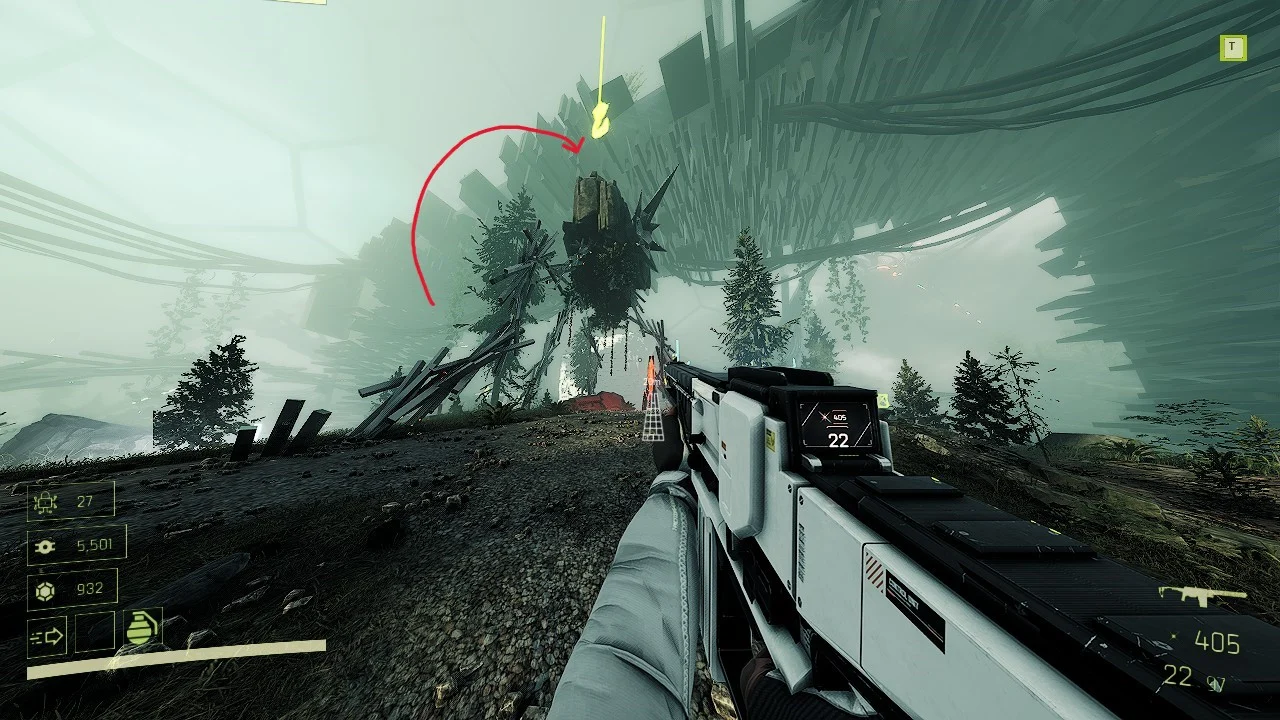
Zone 4 · Tall building rooftop
Climb the Zone 4 building after the first fight and before the first chest. The schematic is on the roof.
Route & module details
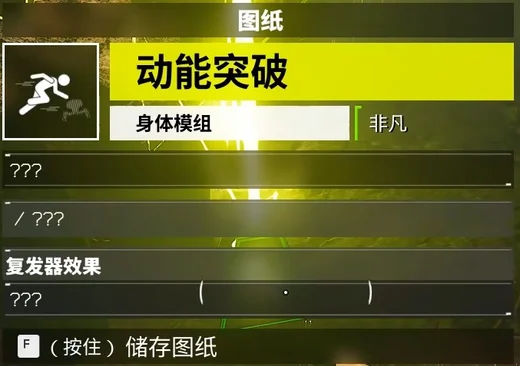
Module: Connects wall-running with cooldown resets.
Look for the broken upper building floating above the tall building. Grapple partway up, destroy successive interior ceilings, then jump outside and double-jump back onto the solid roof. Use the illustrated route for the landmarks and final approach.
Community PC screenshot; the guide uses the English name above. This checklist does not prescribe numerical stacking values.
Loot rooms
4 schematics
Zone 1 · Powered door / chest island
On a Zone 1 chest island, follow the locked door's cable to its switch, then return through the opened door.
Route & module details
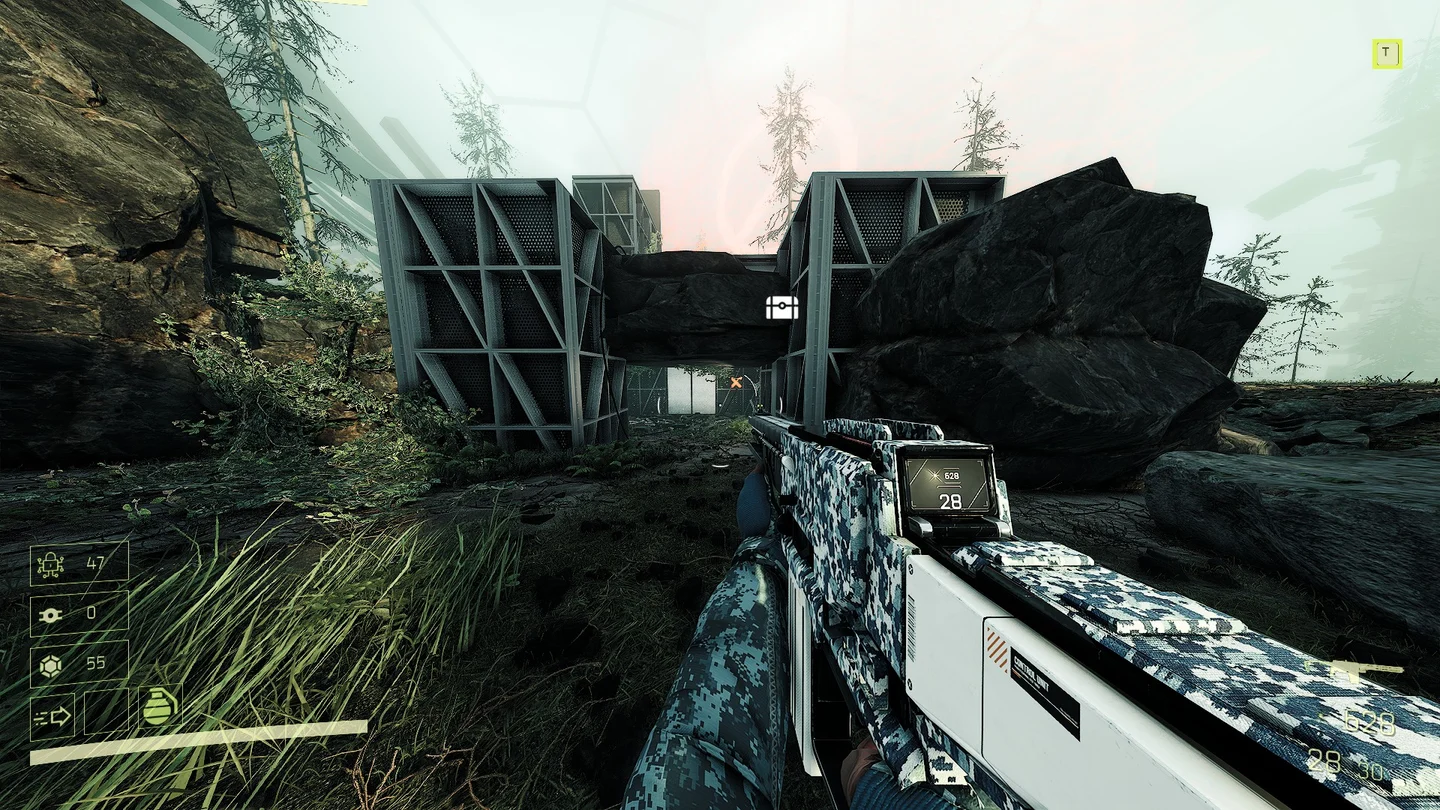
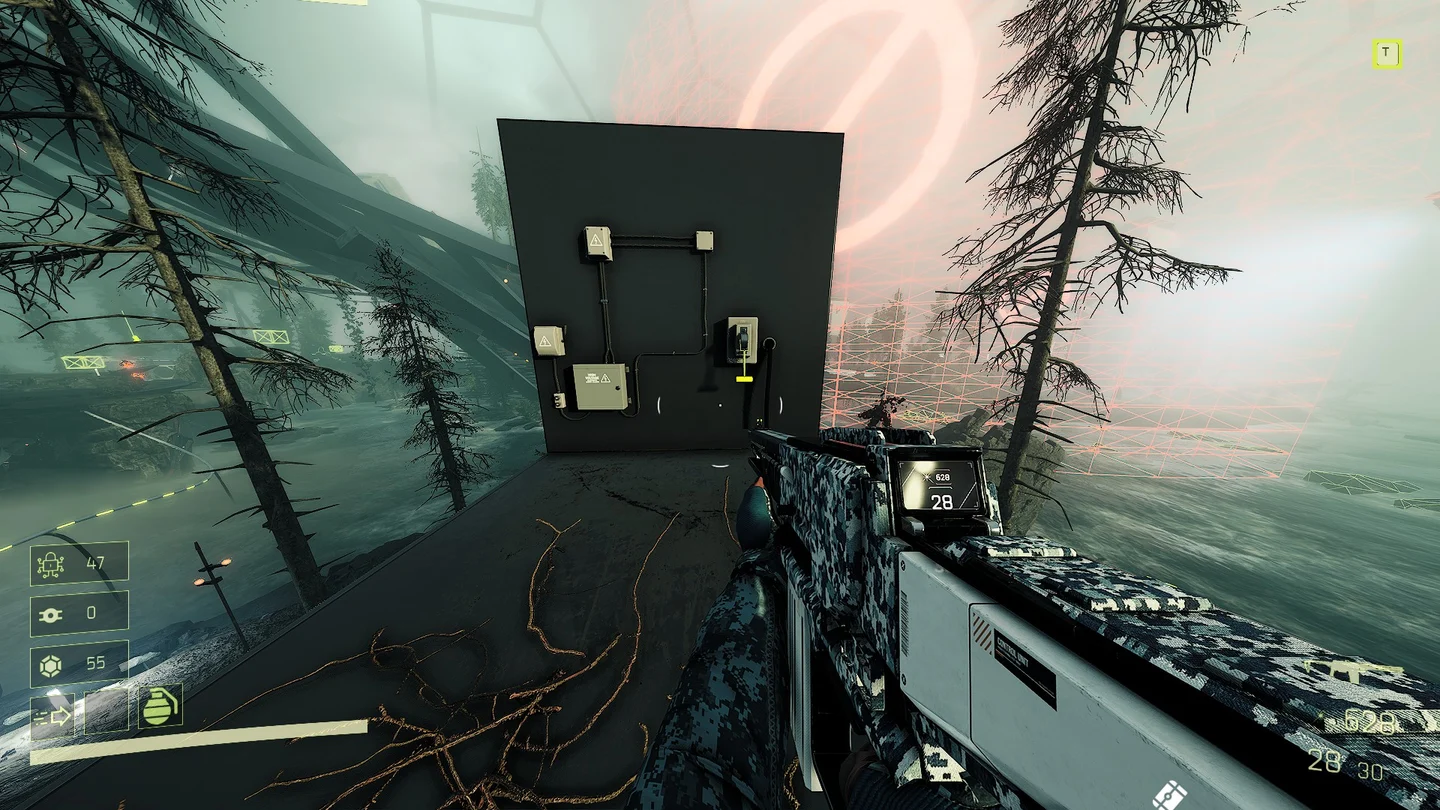
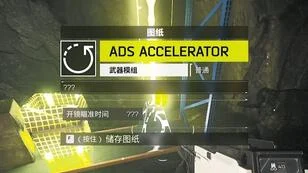
Module: Speeds up aiming down sights.
Look for a chest island with a tall column and a slab on top. Circle the rock to find the closed door marked with an X. Follow its cable and climb to the switch. Activate it, return to the now-open door and collect the schematic inside.
The door is the end of the route, not a wall to destroy. Open imageFollow the cable to the switch, then return to the door. Open image
Identify the module in game
Community PC screenshot; the guide uses the English name above. This checklist does not prescribe numerical stacking values.
Zone 1 · Cave / chest island
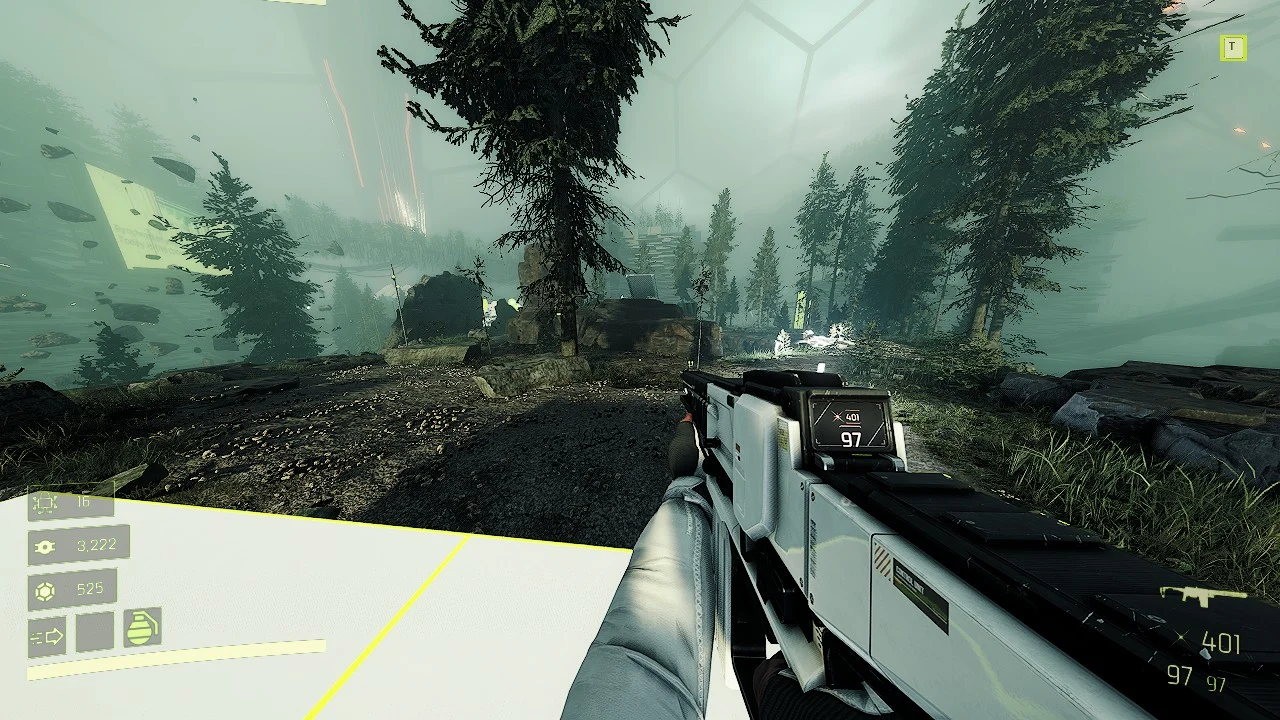
Circle the rock on a Zone 1 chest island and enter its cave. The pickup is away from the chest.
Route & module details
Module: Boosts the last round in a magazine.
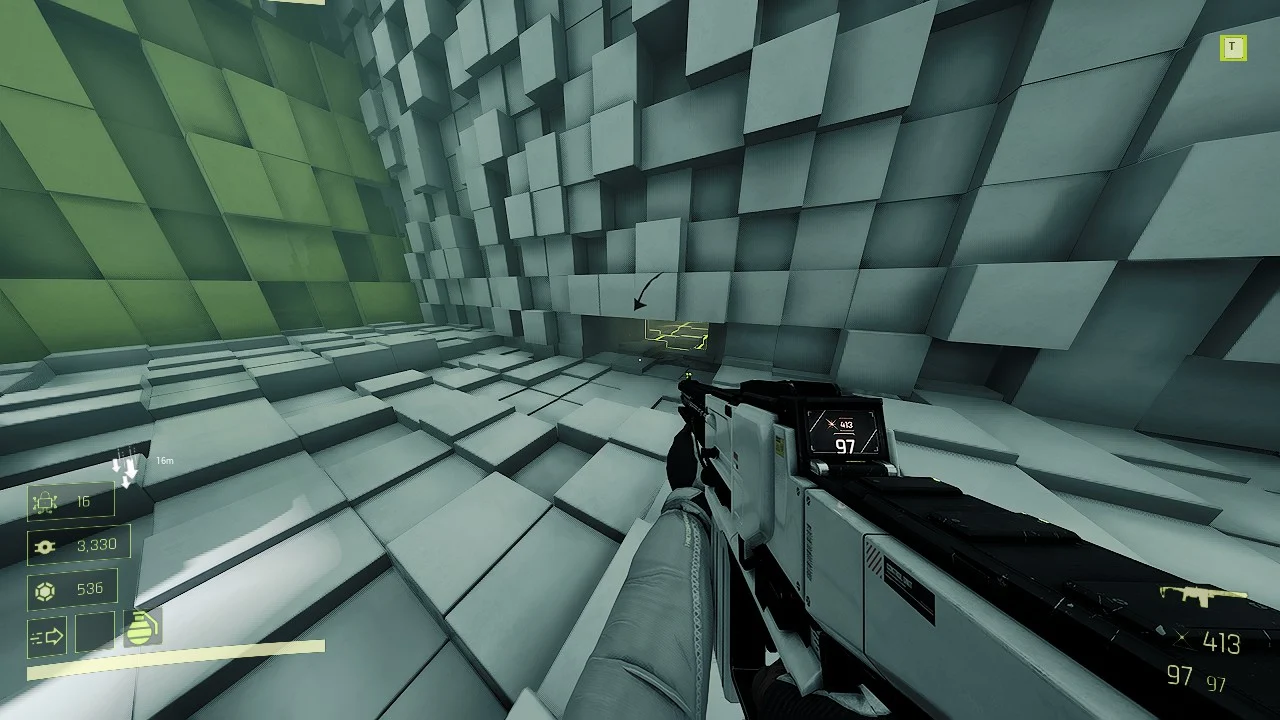
Visit Zone 1 chest / LOOT locations and listen for the schematic cue. This layout is not tied to one coordinate or only to the island before the boss. Walk around the large rock formation, find the cave entrance and collect the schematic inside.
Circle the formation rather than leaving after the chest. Open imageThe pickup is inside this cave. Open image
Identify the module in game
Community PC screenshot; the guide uses the English name above. This checklist does not prescribe numerical stacking values.
Zone 2 · Breakable floor / chest island
Grenade the 3×3 floor slabs beside the chest in the documented Zone 2 layout, then clear the cave below.
Route & module details
Module: Activates surrounding inventory slots and adds a stacking effect.
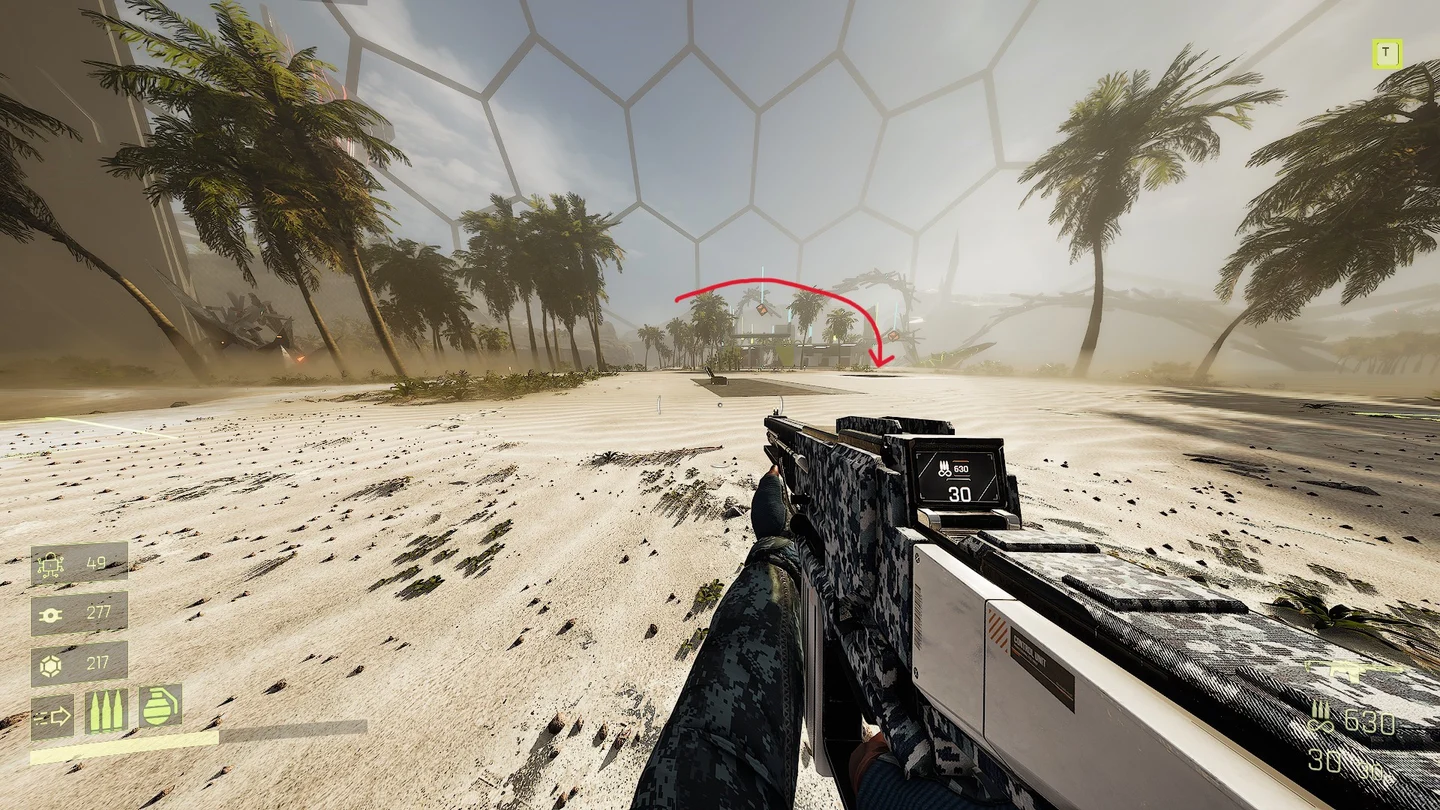
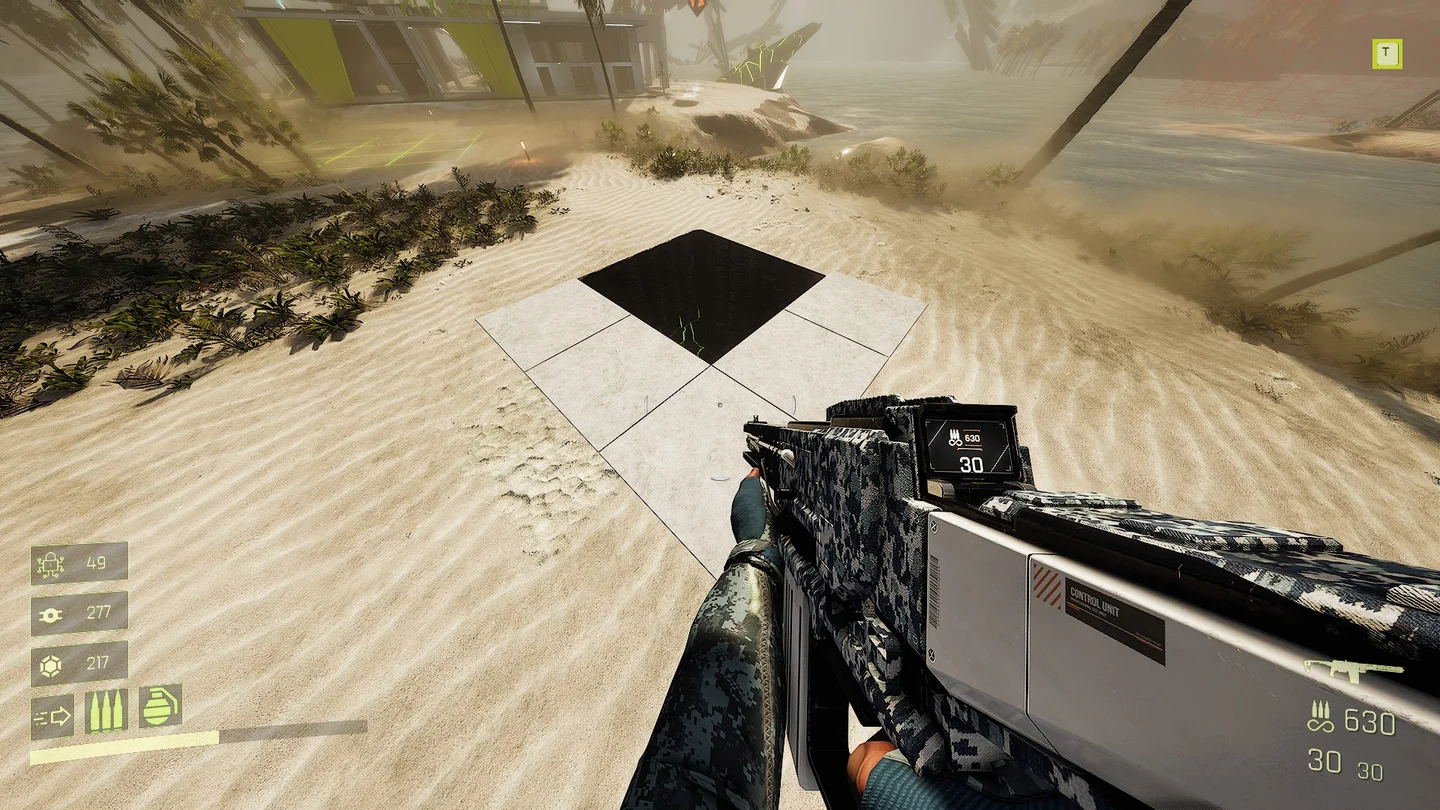
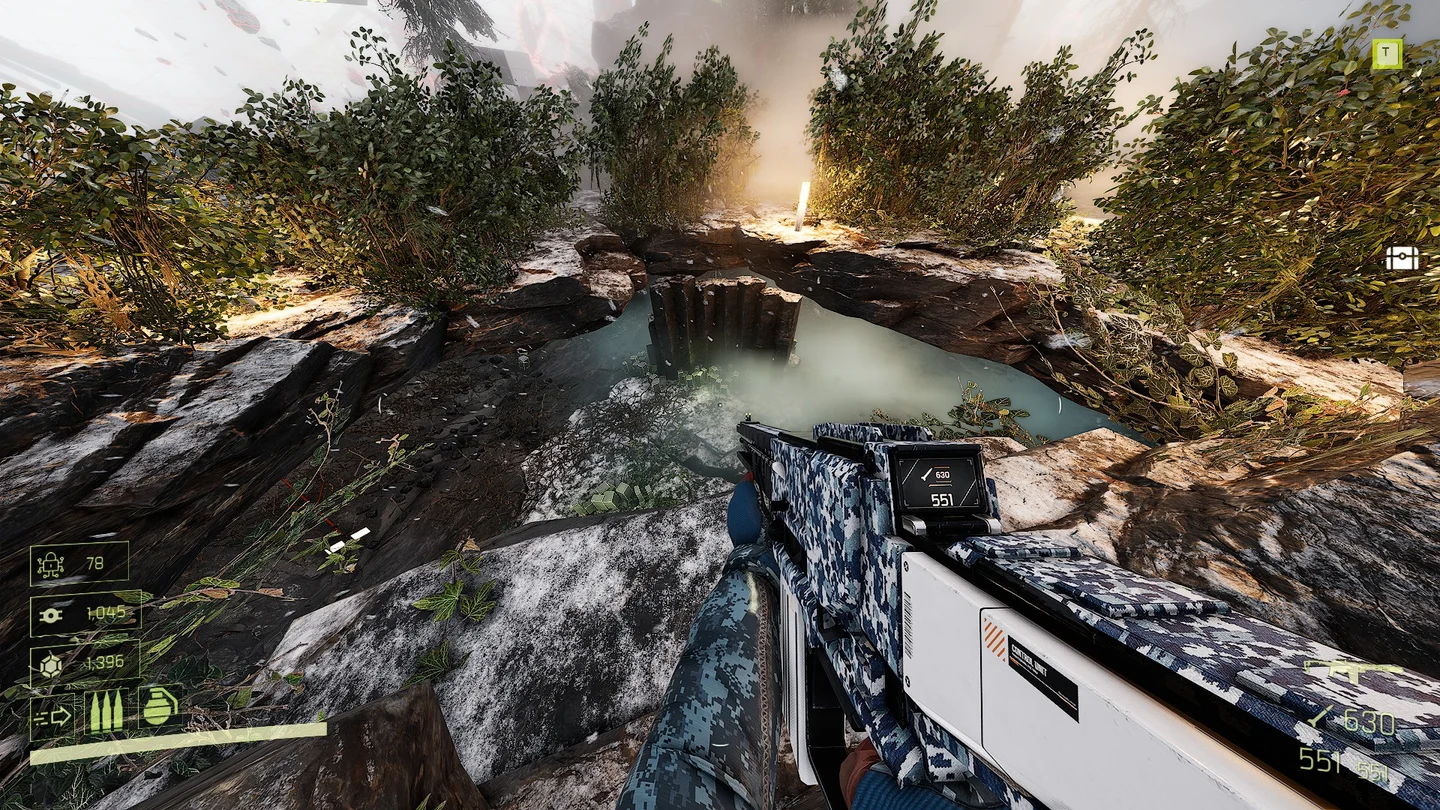
Inspect the ground beside the chest and listen for the schematic cue. The English guide observed this layout in Zone 2; that is not a guarantee of every spawn. Destroy the square 3×3 slab patch to the right of the chest with a grenade. Drop into the opening, clear the enemies and collect the schematic.
Use the chest and arrow to orient toward the destructible floor patch. Open imageThe opened floor leads below; clear the enemies before collecting the schematic. Open image
Identify the module in game
Community PC screenshot; the guide uses the English name above. This checklist does not prescribe numerical stacking values.
Zone 3 · Grass-covered cave / chest island
On a Zone 3 chest island, find the hole in the grass, clear the enemies below and continue inside.
Route & module details
Module: Makes dashing deal damage.
Explore Zone 3 chest / LOOT islands beyond the chest. Look for the grassy patch with a hole into a cave. Drop in and clear the enemies, including an Ignit, even though the map marks a loot stop. Continue farther into the cave for the schematic.
Check the ground around the grass, not only the chest. Open imageEnemies wait in the cave before the schematic. Open image
Identify the module in game
Community PC screenshot; the guide uses the English name above. This checklist does not prescribe numerical stacking values.
Obelisks
2 schematics
Zone 1 · Above an obelisk
At the documented Zone 1 obelisk layout, grapple to the high rock/platform above it for the schematic.
Route & module details
Module: Destruction can release burning bombs.
Visit obelisks and listen for the schematic cue; the map position varies. Look up for the high rock/platform and grapple point above the obelisk, then grapple to the top. The Chinese community guide places the grapple unlock after the first Zone 1 boss, at the start of Zone 2. Return on a later run if you do not yet have it.
Look above the obelisk, not around its base. Open imageReach the upper platform with the grapple. Open image
Identify the module in game
Community PC screenshot; the guide uses the English name above. This checklist does not prescribe numerical stacking values.
Zone 3 · Crawlspace / obelisk base
Circle a Zone 3 obelisk and crouch through the low gap in its base. The schematic is inside.
Route & module details
Module: Trades fire rate for weapon damage.
Listen for the schematic cue at Zone 3 obelisks. Similar-looking obelisks can occur without a pickup, so the silhouette alone is not confirmation. Circle the structure, inspect its base for a low opening, crouch through and collect the schematic.
Circle the base rather than climbing the obelisk. Open imageCrouch through the gap to reach the pickup. Open image
Identify the module in game
Community PC screenshot; the guide uses the English name above. This checklist does not prescribe numerical stacking values.
Fragment Zones
6 schematics
Fragment Zone · Ignit pedestal room
Choose a dice / Fragment Zone node. In the Ignit room, the schematic waits on the pedestal.
Route & module details
Module: Lets the gravity tether lift and throw Ignits.
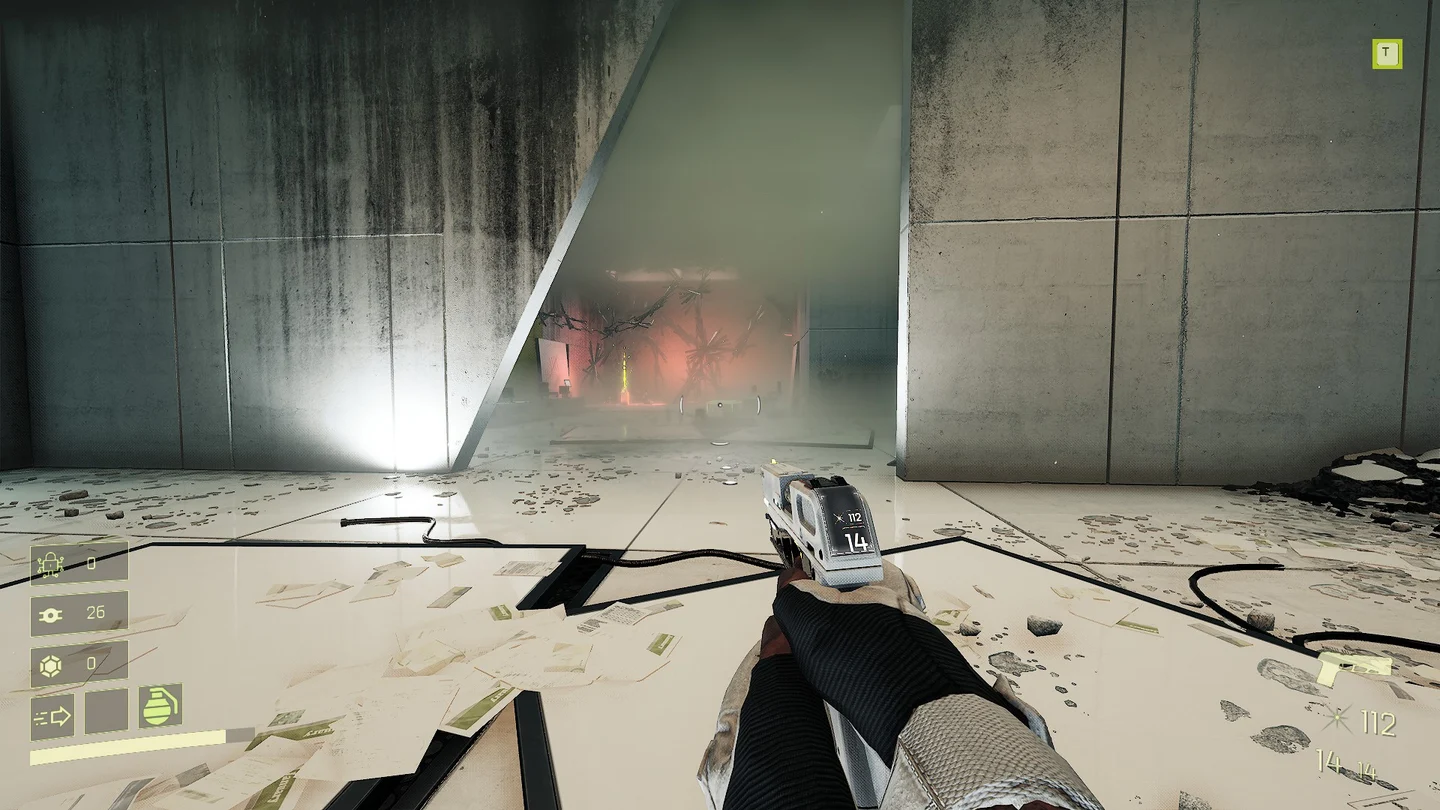
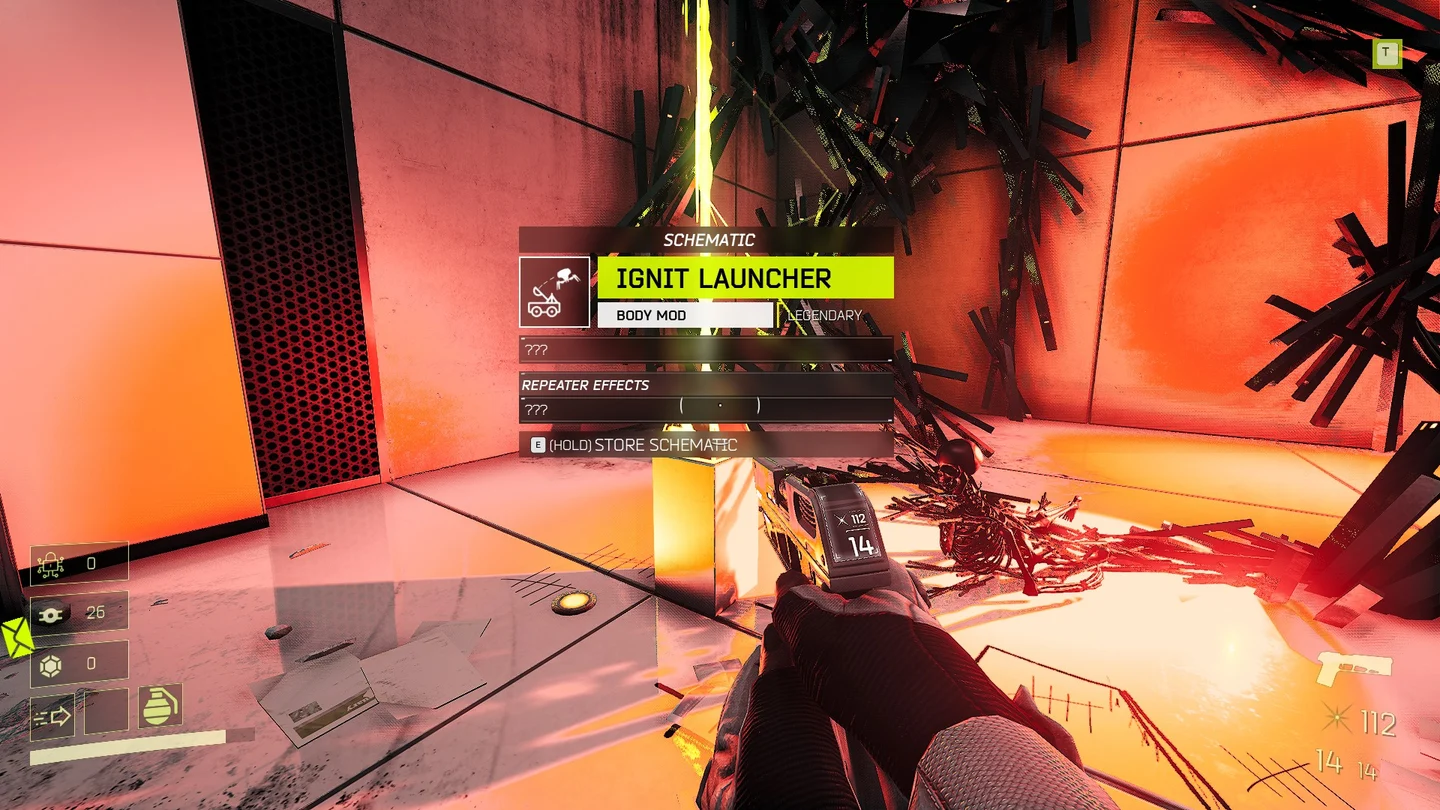
Fragment Zones are the dice icons on the map. The room variant is random: a different dice room is not a failed attempt at this route. In the Ignit pedestal room shown below, take the schematic directly from the pedestal. The Chinese guide records Ignits appearing after collection.
Match the pedestal room layout. Open imageTake the schematic from the pedestal. Open image
Identify the module in game
Community PC screenshot; the guide uses the English name above. This checklist does not prescribe numerical stacking values.
Fragment Zone · Stare-down corridor
Use the computers in the stare-down Fragment Zone and keep the enemies in view while crossing to the far door.
Route & module details
Module: Stops ammunition consumption while standing still.
Use the first computer in the long corridor to begin. Keep looking at the enemies while moving toward the far computer; the guide documents that they do not attack while watched. Use the far computer to open the exit and run through it. Once the doors close behind you, collect the schematic from the pedestal in the safe room.
Use the first computer to begin the encounter. Open imageKeep the enemies in view while crossing. Open imageThe exit door is your escape after operating the far computer. Open image
Identify the module in game
Community PC screenshot; the guide uses the English name above. This checklist does not prescribe numerical stacking values.
Fragment Zone · Arrow-marked crawlspace
In its Fragment Zone, follow the right wall to the arrow-marked low gap and crouch inside.
Route & module details
Module: Increases the chance of higher-tier items.
Choose dice / Fragment Zone nodes until you recognize this room. Follow the right wall, find the arrow pointing toward the low gap, crouch into the opening and collect the schematic.
Follow the right wall in this room variant. Open imageCrouch into the gap marked by the arrow. Open image
Identify the module in game
Community PC screenshot; the guide uses the English name above. This checklist does not prescribe numerical stacking values.
Fragment Zone · Laser corridor / hidden room
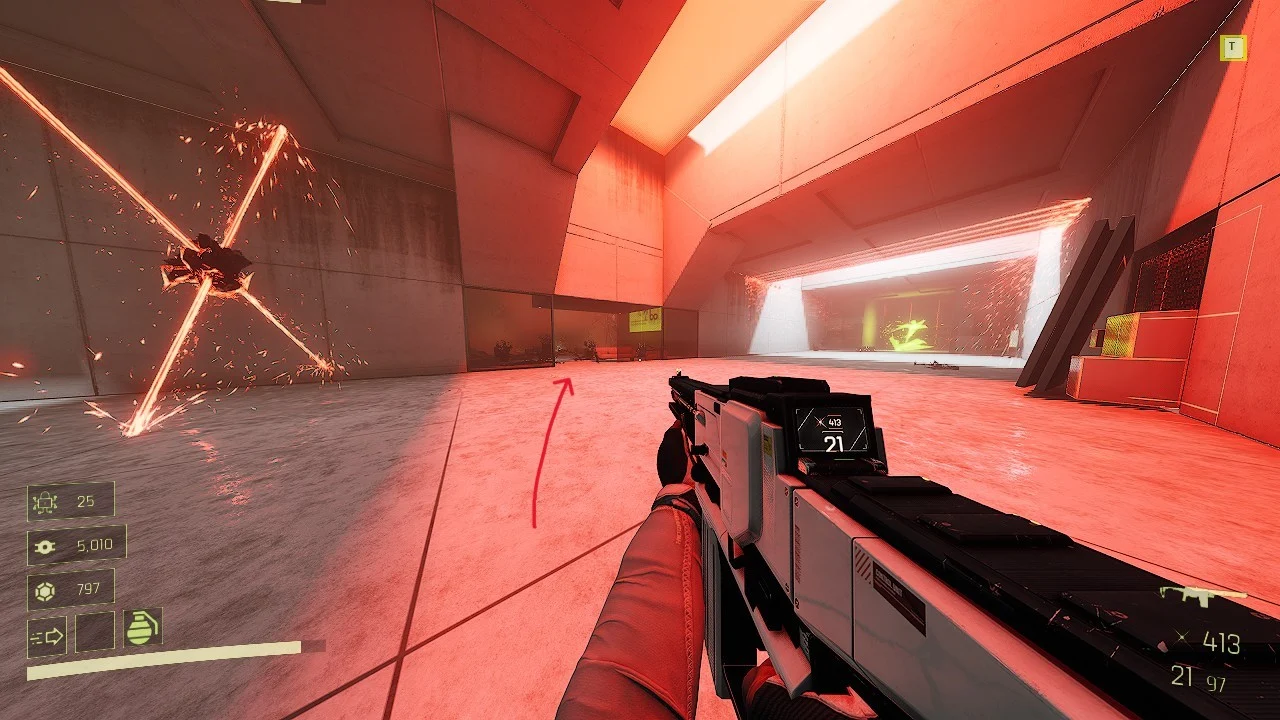
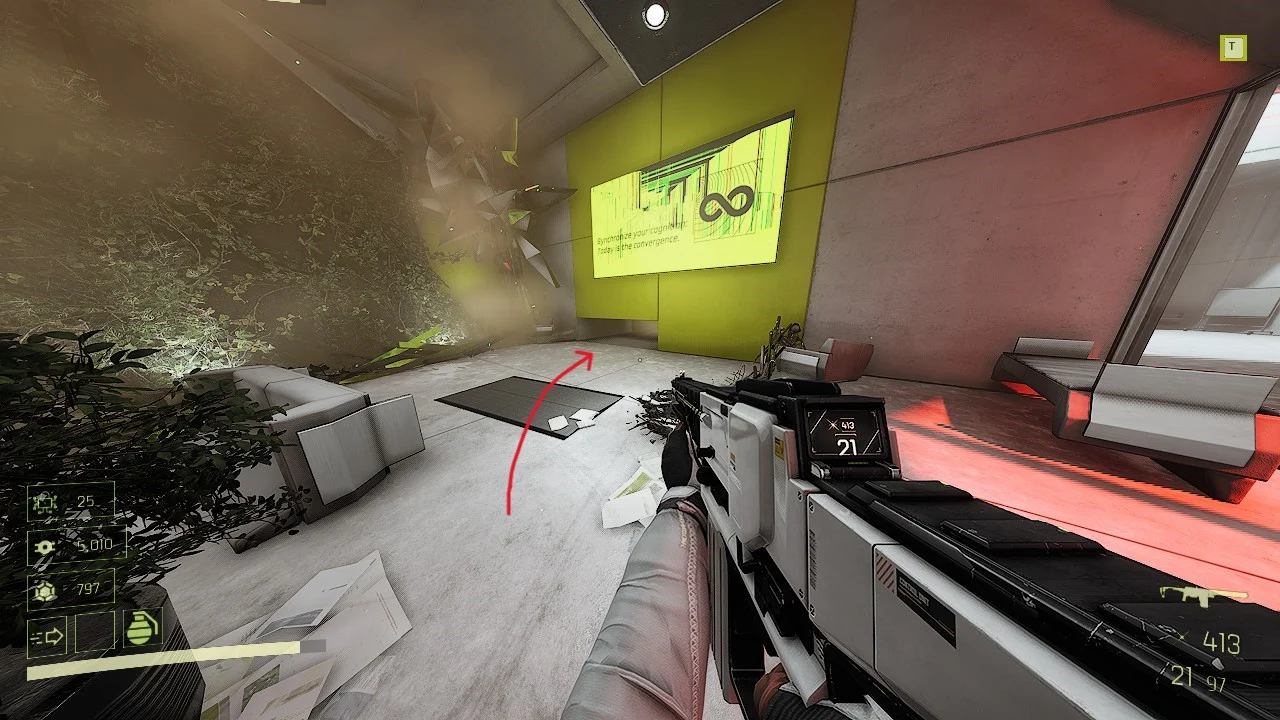
In the laser Fragment Zone, enter the red-lit section's side room and break the furniture below the monitor.
Route & module details
Module: Increases damage while aiming down sights.
Advance along the laser-trap corridor to the red-lit area, then enter the room on the left. Break the furniture beneath the monitor; the Chinese guide shows a sofa hiding the gap. A grenade clears it. Crouch through the exposed opening and collect the schematic.
The side room is on the left in the red-lit section. Open imageThe opening below the monitor is visible after clearing the furniture. Open imageThe schematic waits beyond the hidden opening. Open image
Identify the module in game
Community PC screenshot; the guide uses the English name above. This checklist does not prescribe numerical stacking values.
Fragment Zone · Snuffles arena
Defeat Snuffles in its Fragment Zone, then search the fog pool below for the schematic.
Route & module details
Module: Increases weapon damage while airborne.
Choose dice / Fragment Zone nodes until you encounter the Snuffles arena shown below. Defeat Snuffles, then check the fog pool below for the schematic pickup. Older English guides spell the name Airbourne Attack.
This corridor leads into the arena. Open imageClear Snuffles in this arena, then search the fog pool below. Open image
Identify the module in game
Community PC screenshot; the guide uses the English name above. This checklist does not prescribe numerical stacking values.
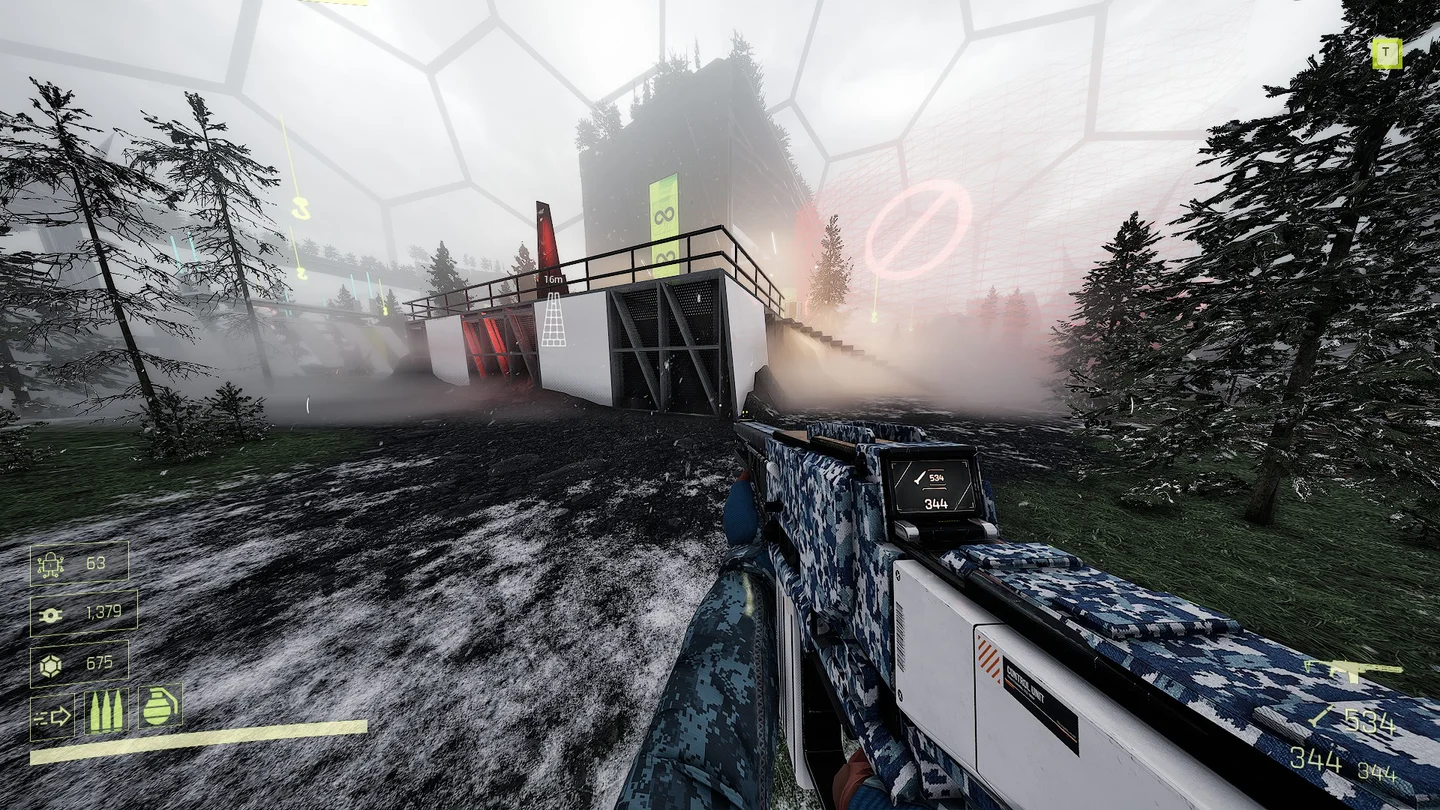
Fragment Zone · ENTROPY CENTRE
Find the ENTROPY CENTRE Fragment Zone, clear its enemies and enter the room for the schematic.
Route & module details
Module: Summons a helper firing electrical projectiles.
Choose dice / Fragment Zone nodes and look for the ENTROPY CENTRE lettering and logo. Defeat the enemies in that encounter, then enter the room containing the schematic. Use the illustrated route to recognize the sign and pickup area.
Community PC screenshot; the guide uses the English name above. This checklist does not prescribe numerical stacking values.
No schematics match these filters.
How to read this list
Map layouts can move between runs. Match the room landmark and use the schematic audio / HUD cue; do not try to reproduce another player's map coordinates. Collect a pickup in game before ticking it here. Saved boxes are a personal reminder and do not read your save file.
Sources & version notes
The list combines Pumptar's English schematic guide with 萌新结棍's 17-item community guide and its later routes. The English guide uses “Airbourne Attack”; this list uses “Airborne Attack”. The official Steam news confirms 1.0 and subsequent hotfixes but does not publish an exhaustive schematic list. These are source-based directions, not a claim that we played every route on 1.0.